Blur Tutorial
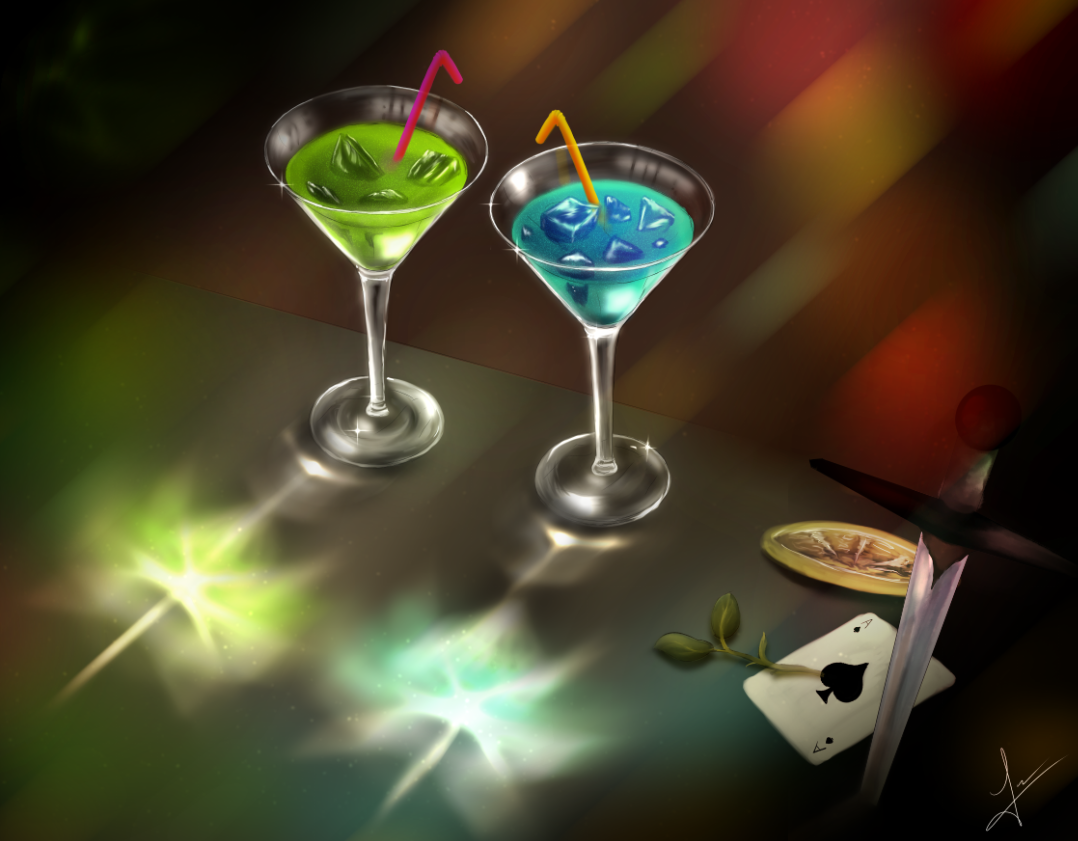
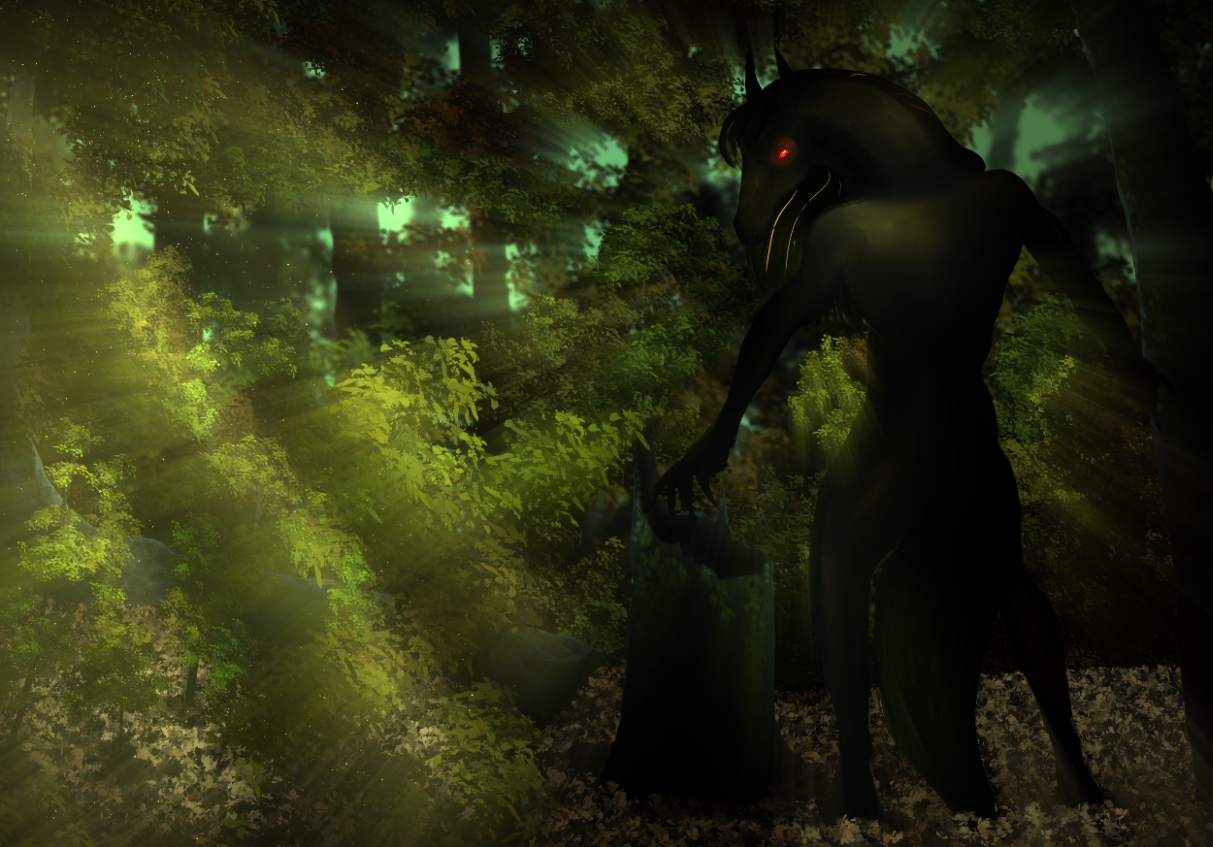
As an "ethereal" artist, or so named by many, there is one trait defining my style: The Blur.
Something fearsome for many artists, because details get severely lost within... Or do they?
There are good and bad techniques, and here's how to make the most out of this awesome tool!
1. The Aura - GAUSSIAN BLUR
My most used type of Blur is the Gaussian. It allows me to break the material lines, creating ghostly figures. This aura is achieved in a few steps:
- Once you have finished the part of the drawing you want to be blurred, merge the layers of such, and duplicate it.
- On this copy, left on top of the original, add the "Lighten" layer mode.
- Now, add the Gaussian Blur, as powerful or dim as you wish.
- Lastly, soft erase the parts which need to be sharp, like faces and hands, or certain parts of plants and trees, and set the transparency levels to the point where everything is still distinguishable.

2. The Movement - Motion Blur
Add action to a static picture, by using Motion Blur, as its name indicates. The process is practically the same as the Gaussian, with little differences:
This one counters the previous, making the selected surroundings blurry, in order to keep the main focus sharp. At the same time, it creates life, a visual of something causing such movement, while the main focus rests still.
I don't fully recommend using it on the main focus itself, unless the idea is to create a "chaotic" visual, in which one cannot distinguish the movement.

3. The Power - Radial Blur
Similarly, but expanding like an explosion, comes the final blur: the Radial. This one mixes both Aura and Movement, in a powerful mix that will showcase a strong scene, centering the point of view in what causes such blur.
Once again, the process is identical to the other two, with the difference that you gotta set the center in which everything will blur to the outside.
